10 Etsy Listing Photo Infographics: Create Professional Listings That Sell
If you sell on Etsy, you already know the struggle of creating listing photos that grab attention. You have about one second to convince a shopper to click. That’s where 10 Etsy Listing Photo Infographics come in. These aren’t just pretty graphics—they’re strategic tools designed to showcase your products, highlight key features, and save you hours of design work. Whether you’re a new seller or a seasoned shop owner, these infographic templates help you build a cohesive, trustworthy brand without needing advanced design skills.
What Exactly Are 10 Etsy Listing Photo Infographics?
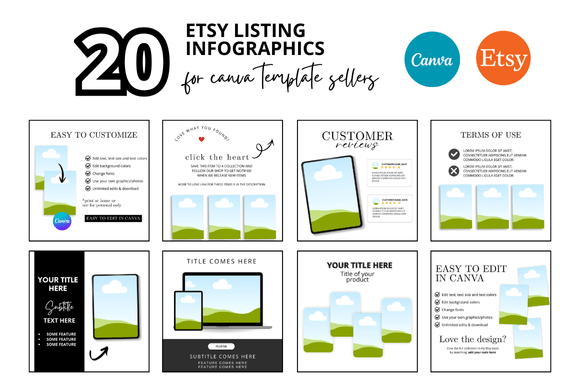
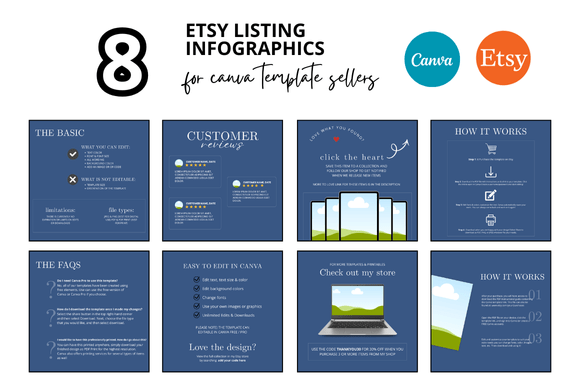
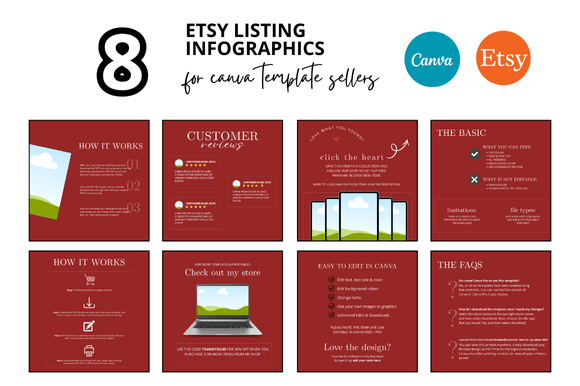
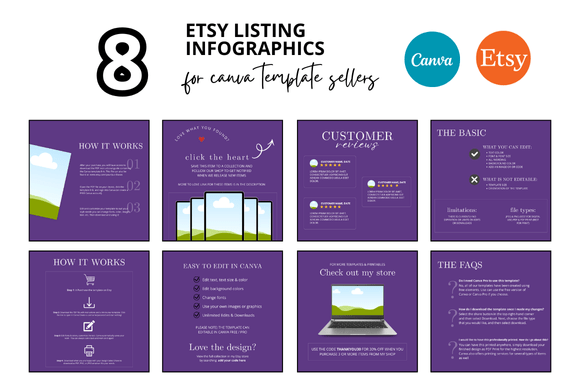
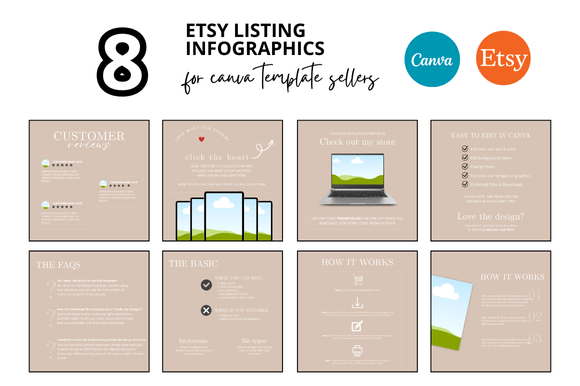
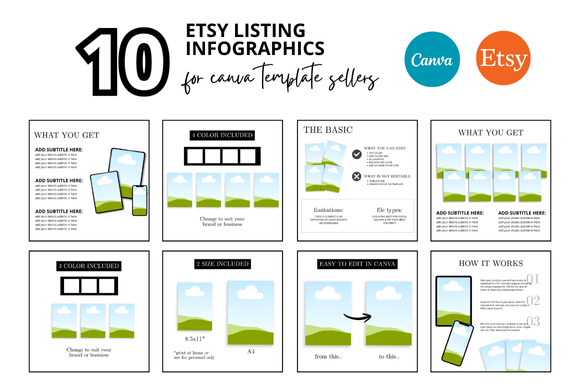
Think of these as ready-made layouts for your product photos. Each infographic is a 2000 x 2000 pixel square (perfect for Etsy’s square listing format) that you can customize in Canva. They come as a bundle, often with matching mockups, frames, and bonus freebies. The templates are designed to be intuitive—drag and drop your product images, edit text, change colors, and you’re done. No need to start from scratch or hire a designer.
The typical set includes a mix of informational cards, comparison charts, size guides, and lifestyle mockups. For example, a seller of printable planners might use an infographic to show “What’s Inside” or “How to Use.” A seller of handmade candles might use one to highlight scent notes or burn time. The goal is to answer shopper questions visually, which builds trust and reduces returns.
Where and When Do Sellers Use These Infographics?
You’ll find these infographics most useful during three key phases of running an Etsy shop: listing creation, shop updates, and promotion.
Listing Creation
When you add a new product, you need 5–10 photos per listing. With these templates, you can quickly generate consistent, branded images. Use one infographic for the main shot, another for dimensions, and another for materials. The result? A professional-looking listing that stands out in search results.
Seasonal or Collection Updates
Maybe you’re launching a holiday collection or a new color line. Instead of redesigning each listing from scratch, you can swap out product images in the same infographic templates. This keeps your shop looking fresh while maintaining brand consistency.
Social Media and Etsy Ads
Many sellers repurpose listing photos for Instagram, Pinterest, or Etsy’s ad platform. The square format works perfectly for these channels. You can create a quick promotional graphic using the same infographic style, saving time and reinforcing brand recognition.
Realistic Use Cases Across Different Seller Types
Different sellers get different value from these templates. Let’s look at a few common scenarios.
The Printables & Digital Products Seller
If you sell digital planners, calendars, or coloring books, your customers want to see exactly what they’ll download. Use the 10 Etsy Listing Photo Infographics to create side-by-side comparisons of included pages, or to show a mockup of the product on a tablet or in a binder. This visual clarity can reduce refund requests and increase conversion rates. One seller I know uses the “Benefits at a Glance” infographic to list five key features of her budgeting spreadsheet. She says it cut down her average question time by half.
The Handmade Goods Maker
For physical items like jewelry, candles, or ceramics, customers care about size, materials, and care instructions. An infographic that shows the product next to a coin for scale, or that lists fragrance notes with a simple icon, answers those questions before they’re asked. You can also use a “How to Style” infographic to show your candle in different room settings. The mockup templates in the bundle let you place your product into a lifestyle image without needing to stage a photo shoot.
The Vintage or Antique Seller
Vintage items often require more explanation about condition, era, or provenance. An infographic can display multiple photos of the same item from different angles, along with bullet points about wear or history. This builds trust with buyers who are wary of buying used goods online. A seller of vintage cameras I know uses an infographic to show the item’s original packaging and a close-up of the serial number. She says it helps her justify higher prices.
The Hobbyist Turned Entrepreneur
Maybe you started making art prints as a side hustle and now want to scale. You don’t have hours to spend on design. The Etsy Listing Canva Mockup templates in this bundle are a lifesaver. They come with a Canva link, so you just click and edit. You can change the background color to match your brand, add your shop name, and insert your product photo. One new seller told me she launched her first five listings in one evening using these templates, and she had zero design experience.
Who Else Benefits Beyond Sellers?
While Etsy sellers are the primary audience, others find these templates useful too.
- Small business owners who list products on multiple platforms (like Amazon Handmade or Shopify) can use the same infographics across channels, maintaining a consistent look.
- Marketers and content creators who manage social media for handmade brands can create quick promotional graphics for client shops.
- Bloggers and educators who offer digital downloads (like e-books or courses) can use the infographics to create visual previews for their own Etsy listings or Gumroad pages.
These templates aren’t limited to Etsy—they work anywhere you need square, informative product visuals.
What to Consider Before You Download
Before you grab a set of 10 Etsy Listing Photo Infographics, think about your own workflow and needs.
Canva Familiarity
These templates are designed for Canva, which is web-based and free to use. If you’ve never used Canva, you can learn the basics in an hour. The templates come with a link that opens in Canva, and you can edit everything. However, if you prefer Photoshop or Illustrator, make sure the bundle offers compatibility (some include PNG files as well).
Customization Flexibility
Not all infographics are created equal. Check if you can change fonts, colors, and images. The best bundles let you swap backgrounds and adjust layout elements. The Customizable Canva Mockups Templates mentioned in the product description suggest high flexibility. Look for bundles that offer separate layers or grouped items for easy editing.
Consistency vs. Variety
A set of 10 infographics gives you enough variety to cover different listing needs without overwhelming you. But think about whether the styles match your brand. Some bundles lean modern and minimal, others are rustic or playful. Check the product previews to see if the aesthetics align with your shop’s vibe.
Bonus Materials
Many bundles include bonus freebies like additional mockups, color palettes, or fonts. These extras can save you even more time. The description mentions “Bonus Freebies only for you”—so look for what those are. They might be listing video mockups or extra frames, which can be a nice addition to your listing photo set.
How These Infographics Connect to Real Outcomes
Let’s be practical. Using these templates isn’t just about making photos look nice—it’s about improving your shop’s performance.
Better click-through rates: A clear, informative first image encourages shoppers to click on your listing when it appears in search results. The infographic’s job is to highlight what makes your product unique before they even read the title.
Fewer customer questions: When you show dimensions, materials, and usage tips visually, customers don’t need to message you. That saves you time and can lead to faster purchases.
Higher perceived quality: Consistent, professional infographics signal that you’re a serious seller. Buyers feel more confident spending money on a shop that looks polished. This is especially important for digital products, where the product itself is intangible until downloaded.
Time saved: The biggest win is hours saved. Instead of wrestling with design software for each listing, you spend 10 minutes customizing a template. Over the course of a year, that could be dozens of hours reclaimed. One seller calculated that using these infographics saved her about 45 minutes per listing—and she had 80 listings.
Practical Tips for Getting the Most Out of Your Templates
- Plan your listing structure. Decide which infographic will serve as your main photo, which as the second, third, etc. A common flow is: main product shot → infographic with key features → size/scale infographic → lifestyle mockup → “what’s included” graphic → care instructions.
- Use consistent branding. Choose a color palette and font that matches your shop style. Apply it to all infographics from the set. This creates a cohesive visual identity across your entire inventory.
- Update the text before images. The template placeholders are just suggestions. Replace them with your own selling points. Be concise—shoppers scan quickly.
- Test different layouts. Use A/B testing if possible. Try an infographic with a plain background versus one with a lifestyle background in your main photo. See which gets more clicks.
- Keep the file format in mind. Save your final infographics as JPEG or PNG at 2000x2000 pixels, as required by Etsy. Check that the template already outputs at that size.
Final Thoughts
10 Etsy Listing Photo Infographics are more than just design shortcuts—they’re a strategy for selling better. Whether you’re a first-time seller overwhelmed by listing requirements, or an experienced shop owner looking to streamline, these templates offer a smart way to build trust and save time. The key is to use them thoughtfully: customize them to reflect your brand, answer real customer questions, and present your products in the best light. When you do that, you’re not just making pretty pictures—you’re creating a shopping experience that turns browsers into buyers.
Enjoy designing, and remember: every template you use gives you back a few minutes of your day. That’s time you can spend creating, marketing, or just taking a break. Happy selling!